
Step 1
Getting your supplies:
- Flash cotton
- Wire
- Flash paper
- Solder & solder gun
- JB Weld
- 1/2 inch O.D. copper pipe (4 inch in length)
- 1.5 volt glo-plug
 |
| 1.5 Volt Glo-plug |
- AA battery
- AA battery holder
- momentary push switch
- electric tape
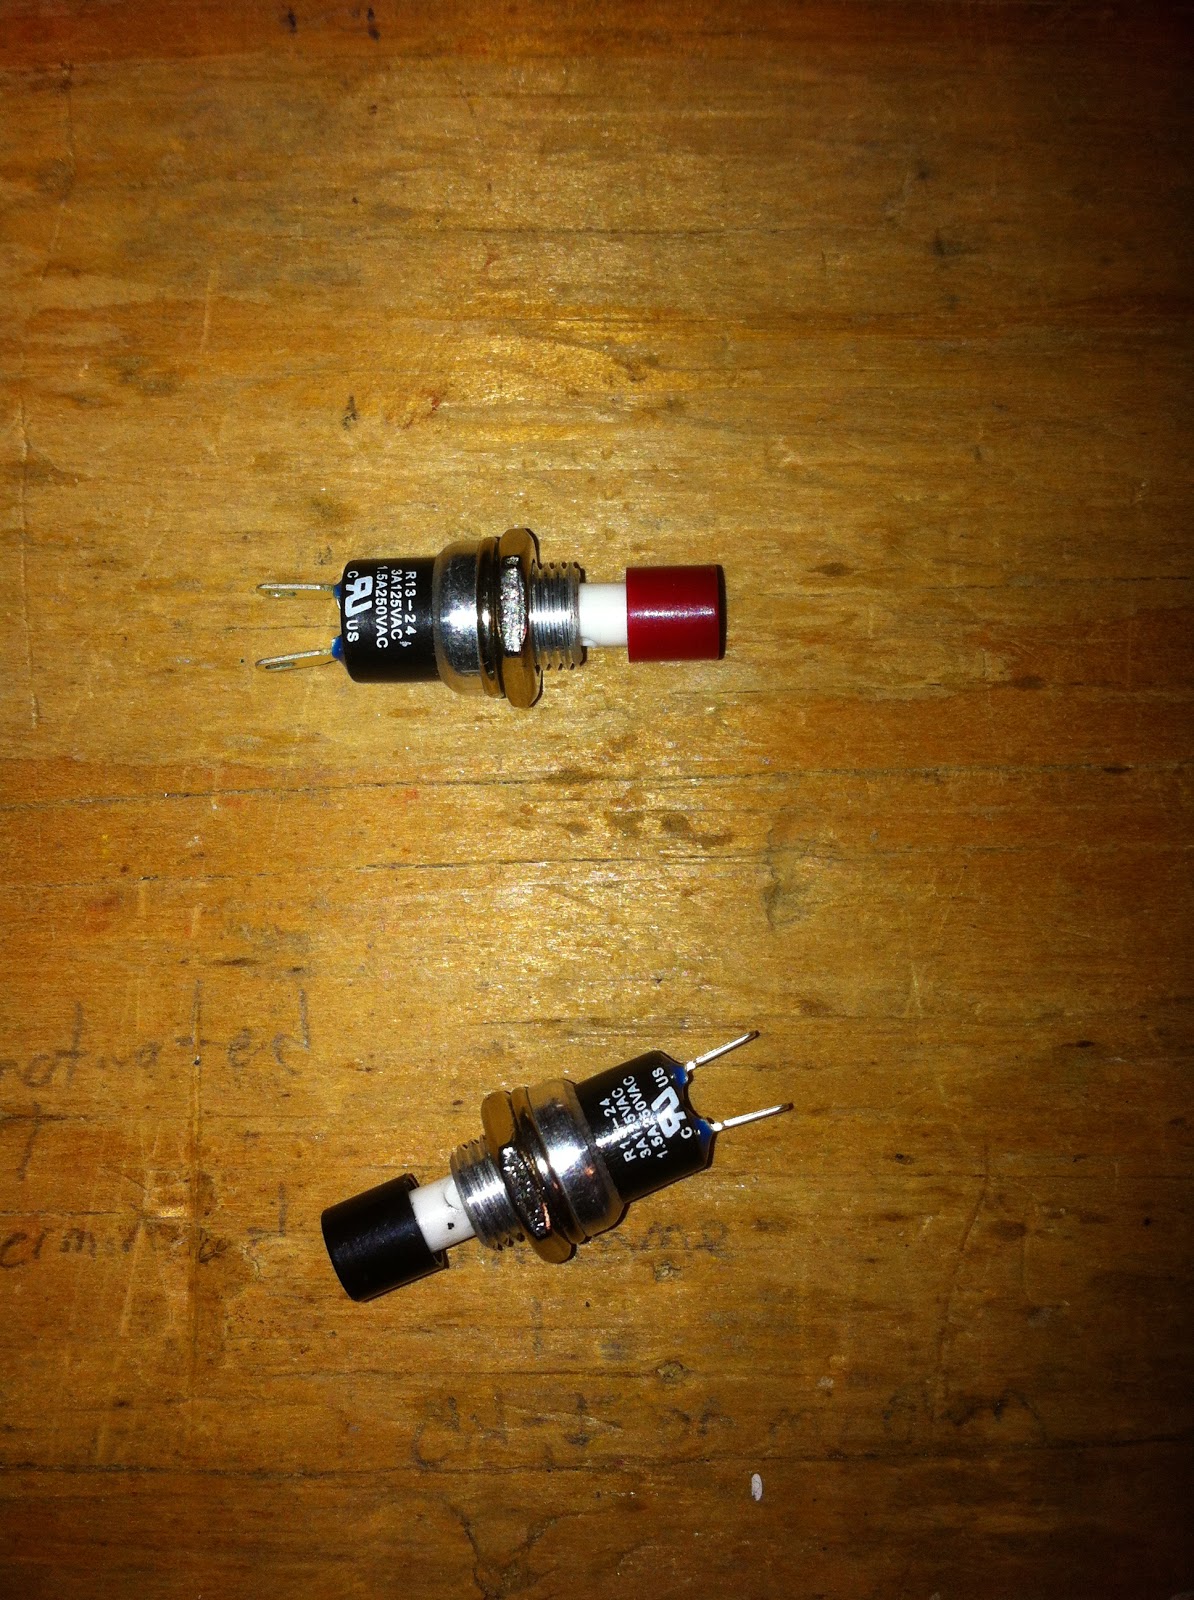 |
| Momentary Switch |
 |
| 1/4 x 28 Nut |
Preparing for the fire:
- The only thing for this section is that you clean the inside of the copper pipe with a wire brush so that the inside is smooth and that there are no impurities.
Step 3
Use JB weld to add the nut to one end of the copper pipe and let it sit over night.
 |
| Copper Tube with nut JB welded to top |
 |
| Attaching Glo plug for future reference |
Attach the AA battery holder to the copper pipe (same end where the nut is on) with either glue, plastic ties, tape, or other method of your choice.
Solder the negative (black) wire from the AA battery holder to one lead of the switch.

Strip 1-1/2 inch of the positive (red) wire from the AA battery holder and wrap it around the non-threaded side of the glo-plug (top).
 |
| Wiring of red wire |
 |
| Wiring Setup - angle one |
 |
| Wiring setup - Battery to Switch to Glo-plug |
Now cover all your exposed wire with electrical tape or non-conductive alternate.
Place a small but of flash cotton in the pipe, followed by a small ball of flash paper. Use a pencil to make sure they both get pushed down to touch the glo-plug. Then wait for it to catch on fire and shoot a fire ball.
 |
| Finished Project - Added Electrical Tape to give it some Flare |
Trial one
Trial two
I'm redesigning this project to improve results
No comments:
Post a Comment