
BOW
STEP 1: Material List
- 0.5 inch (I.D.) PVC SCH 40 [I used 5 feet of it because I am 6 feet tall, I recommend you chose a length that is approximately a foot shorter than your heights]
- Twine that has over 120 lb tensile strength (approximately 55 inches or 4 ft 7 inches of it for a 5 foot PVC bow [0.9 ratio to that of your bow] *Note that if you plan on using this for more that fun / target practice then you might want to look into a stronger twine or maybe just go out a buy a legit bow and arrow.
You also need some sort of hand saw, tape, and scissors for this project.
STEP 2: Prepare your pieces
Begin by measuring the length of your PVC to be about 1 foot shorter than the user's height and then cut it.


PVC Bow Cut Down to 5 feet
Follow this step by cutting your twine to a length 0.9 times the length of the PVC pipe
Next, cut a 1 inch slit into the PVC pipe on both ends (this will be used to hold the twine in place when you pull back on the bow) [see picture below]

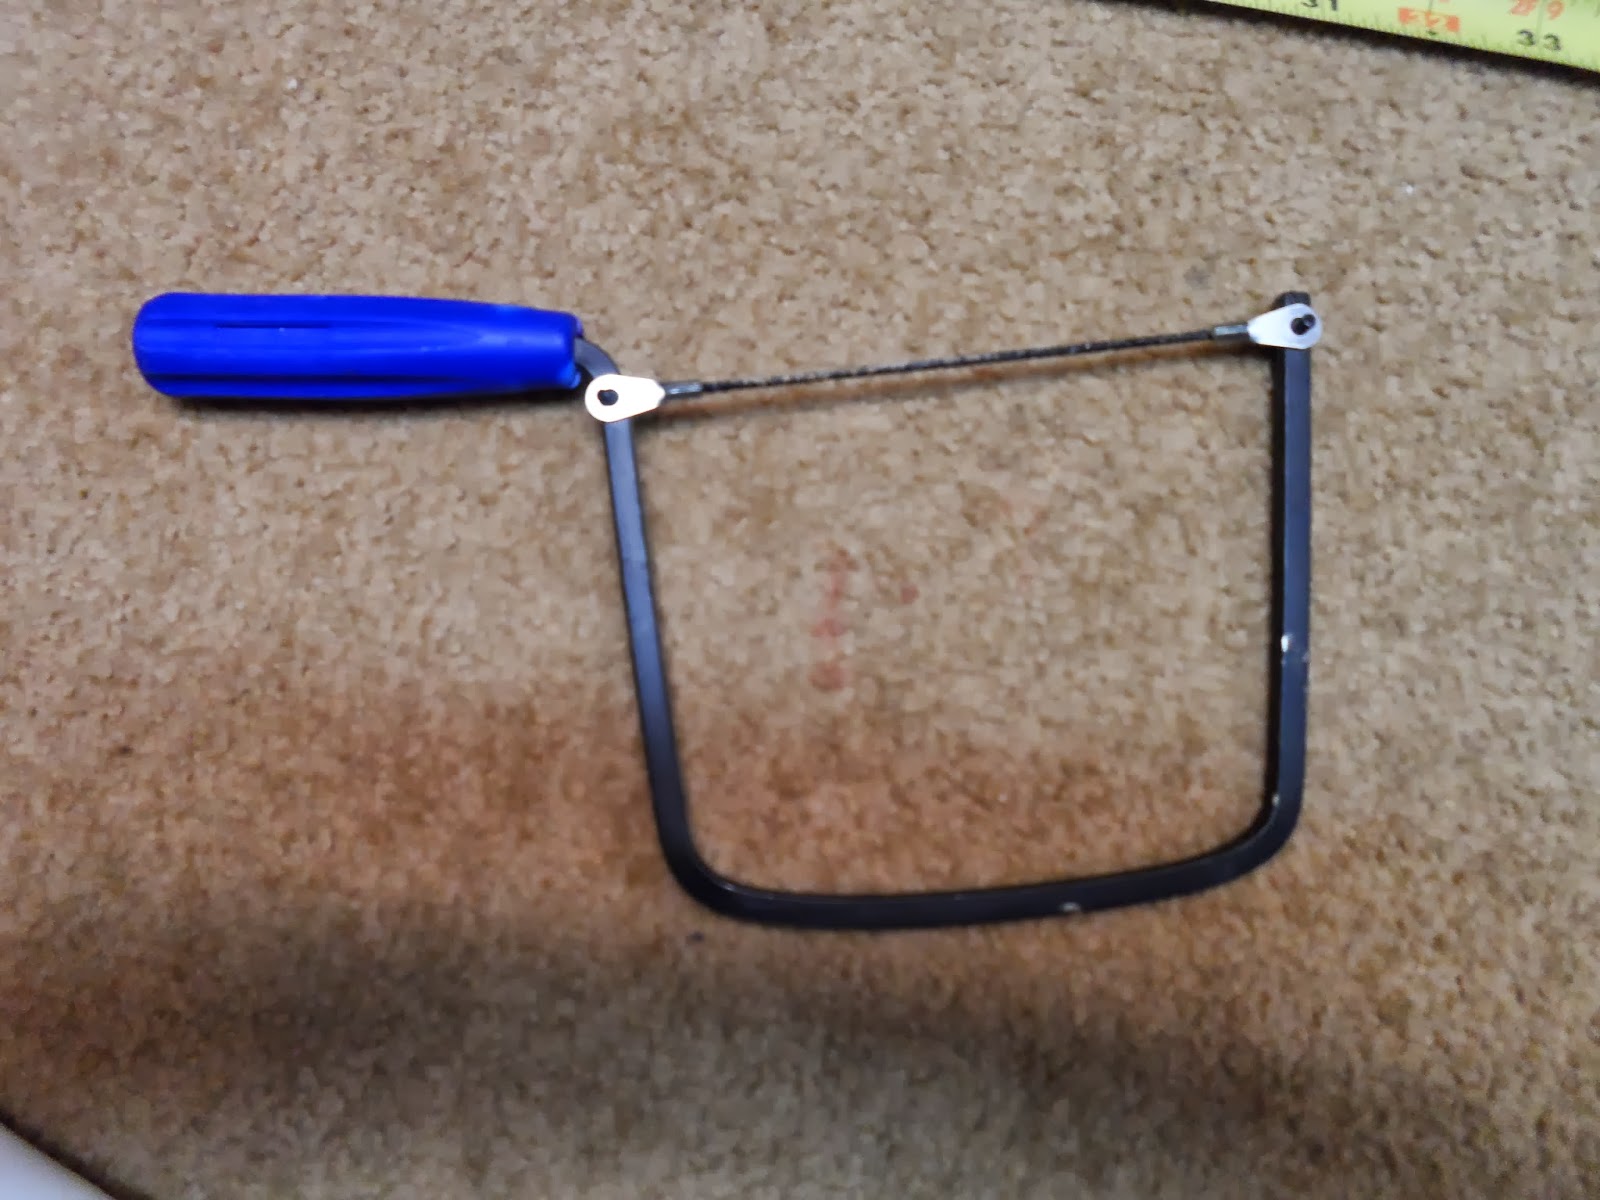
This kind of saw did the trick
Tie multiple knots into both ends of the twine and finish it off by adding some layers or tape. (See picture)

No boy scout knot needed. Just many granny knots
STEP 3: ASSEMBLE!
When ready you can attach the twine to both ends of the PVC until it is bend as so.


Congratulations you now have bow! For all those Zelda fans out there, this is may not be as thrilling as the time you beat the Forest Temple for a fairy bow, but still cool. Also remember to unstring the bow when not in use.
If you have some arrows lying around the house (I found one I received during my order of the arrow ceremony for cub scouts). If not look below on how to make your very own homemade arrow as well.
HOMEMADE ARROW

Step 1: Materials
Finding the Shaft
Option 1 - Find a VERY straight stick in the woods by your house. It should be about 30 inches long and must be strong and be whittled down to 5/16 in [this option is what I tried and was successful in the fact that the arrow flew but like Buzz lightyear it was more about style than actually soaring]..... I do not like this option because weight and wood type play a huge factor in the performance of an arrow


As you can see its not that straight...

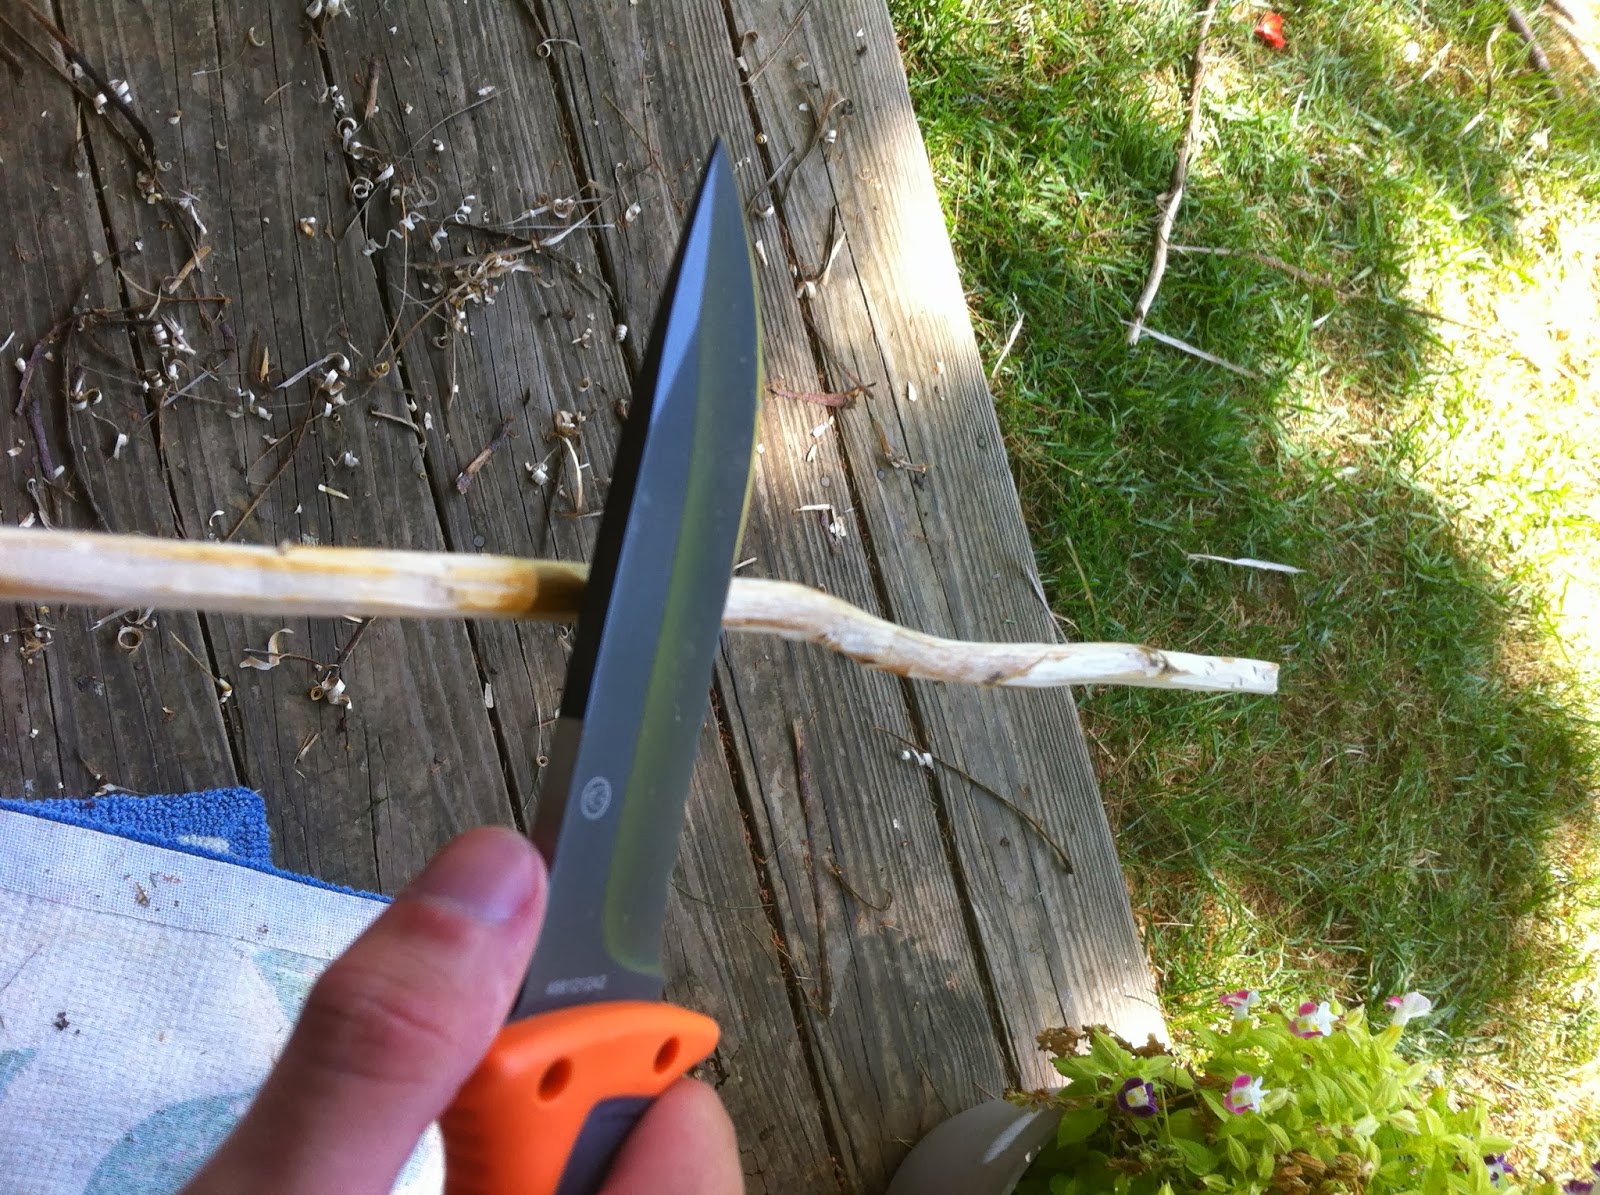
As you can see its not that straight...
Option 2 - Purchase a 5/16 x 48 inch round wooden dowel from the local home improvement store
- The fletchings (feathery things on the end) can be made of multiple materials. I chose something similar to that used on darts. I found a used plastic cookie container (plastic plates, feathers, etc. could work as well)


- A rock (note that you will be making this into your arrowhead so choose an appropriate one)

A simple rock that I can shape using an electric sander
- Twine
- You will also need a hand saw and glue for this project
Step 2: Preparation
- Cut the wooden dowel / stick to 30 inches (+/- 3 inches)

- Cut a 0.25 inch nock in one end of the wooden dowel / stick
- Cut a 0.5 inch nock into the other end of the wooden dowel / stick
- Cut the feather / plastic into 4 IDENTICAL pieces as shown below (see me drawing)

- Use an electric sander to shape the rock into an arrow head (see picture below)

Shape it until your satisfied

Not too shabby
Step 3: Assemble
- Attach with glue the four fletching to the end that has a 0.25 nock. Make sure they are equally separate from each other and give about 1.5 inches distance from there end to the end of the arrow. [see pictures]


The fletchings.... Also you get a good view of the 0.25 nock at the end


The fletchings.... Also you get a good view of the 0.25 nock at the end
- Place the arrow head into the other nock and stabilize it to the arrow with twine. I found that a combination of a criss-cross and wrapping between the arrowhead and arrow worked the best.
- Be careful to make sure that the arrow head is not too heavy. Do some trial and arrow until your arrow works perfectly.
There you have it! Below are some notes for variations. Enjoy!
Some things I thought about doing but never got around to doing them are the following:
What if the rod was made of light steel or aluminum?
What if the arrowhead was made from metal as well?
Wouldn't it be cool to make a target for this guy? Like a legit one made out of compacted straw, a tripod, and paint.
No comments:
Post a Comment